 Save
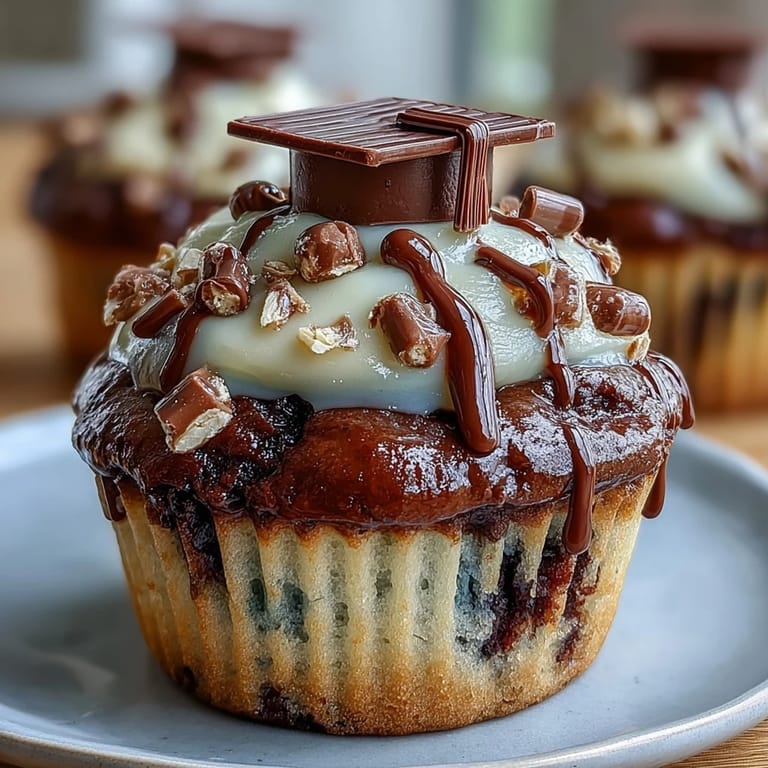
Save My cousin texted me three weeks before her graduation asking if I could bring something to her backyard celebration, and I immediately thought of cupcakes with those little graduation cap toppers. I'd seen them once at a bakery and thought they looked impossibly fancy, but when I actually tried making them, I realized the magic was in the simplicity: a few candies stacked just right and suddenly you have edible mortarboards. That afternoon in my kitchen, with my nephew sneaking candies from the counter and my hands sticky with melted chocolate, I knew these would be perfect.
When I brought these to my cousin's graduation party, something unexpected happened: the adults were just as excited as the kids. My uncle actually asked for the recipe, and my grandmother, who normally polishes off one cupcake and leaves the rest, ended up eating three. There's something about a cupcake topped with a graduation cap that makes people feel like they're part of the moment, like they're celebrating alongside the graduate.
Ingredients
- All-purpose flour: Use a fresh box if you can, because old flour sometimes makes cupcakes come out a bit dense and not as tender as they should be.
- Granulated sugar and softened butter: Creaming these together for about three minutes is the secret to light fluffy cupcakes, so don't rush this step even though it feels repetitive.
- Eggs: Add them one at a time so they actually blend in instead of looking curdled, which happened to me exactly once and taught me a lesson.
- Whole milk: Room temperature milk mixes in more smoothly than cold milk, which I learned when my batter looked weirdly lumpy halfway through.
- Baking powder and salt: These tiny amounts make an enormous difference in how the cupcakes rise and taste, so measure carefully.
- Powdered sugar: Sift it before using so your frosting is actually smooth and not gritty, which ruins the whole vibe.
- Mini peanut butter cups: These become the base of your cap and honestly look more impressive than they should for what they cost.
- Chocolate square candies: These sit flat on top of the peanut butter cups and form the mortarboard shape that makes people recognize what they're looking at immediately.
- String licorice or sour candy strips: Cut these into three-inch pieces so they hang like actual graduation tassels and don't look stubby.
- Mini M&Ms or candy pearls: These tiny candies become the button on the cap and add that final detail that makes the whole thing feel intentional.
Tired of Takeout? 🥡
Get 10 meals you can make faster than delivery arrives. Seriously.
One email. No spam. Unsubscribe anytime.
Instructions
- Preheat and prepare your pan:
- Set your oven to 350°F and line your muffin tin with paper liners while you're thinking about it, because you don't want to be scrambling once the batter is ready. Having everything set up takes two minutes and saves you from a moment of mild panic.
- Cream butter and sugar together:
- Beat them for about three minutes until the mixture looks pale and fluffy, not dense and grainy. This is actually the most important step for getting cupcakes that are tender instead of tough, so set a timer and actually do three full minutes.
- Incorporate eggs and vanilla:
- Add your eggs one at a time, beating after each one so they actually blend in properly. Then stir in the vanilla and let the mixer run for another minute or so.
- Alternate dry and wet ingredients:
- Start with half your dry ingredient mixture, then add milk, then the rest of the dry ingredients, mixing just until you don't see streaks of flour anymore. Over-mixing makes tough cupcakes, so stop as soon as everything comes together.
- Bake with confidence:
- Divide the batter evenly into your liners and bake for 18 to 20 minutes until a toothpick poked in the middle comes out clean. They should smell incredible and look golden brown on top.
- Make frosting while they cool:
- Beat your softened butter until it's smooth, then gradually add sifted powdered sugar so you don't end up with a cloud of sugar everywhere. Once it's combined, add milk, vanilla, and salt, then beat the whole thing until it's fluffy and spreadable.
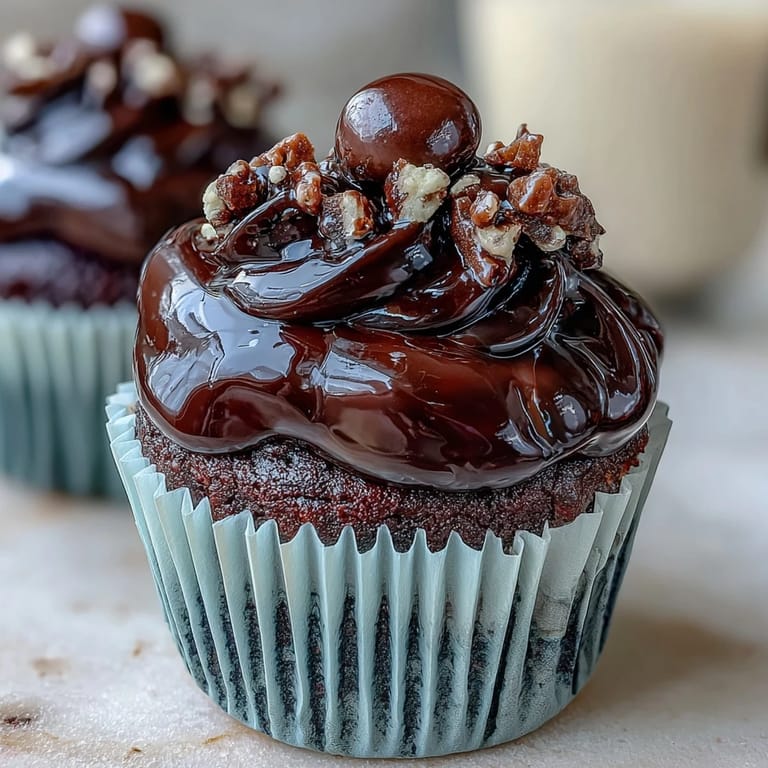
- Frost each cupcake:
- Once your cupcakes are completely cooled, swirl frosting on top with a spoon or piping bag, whichever makes you happier. These cupcakes can handle pretty generous frosting, so don't be shy.
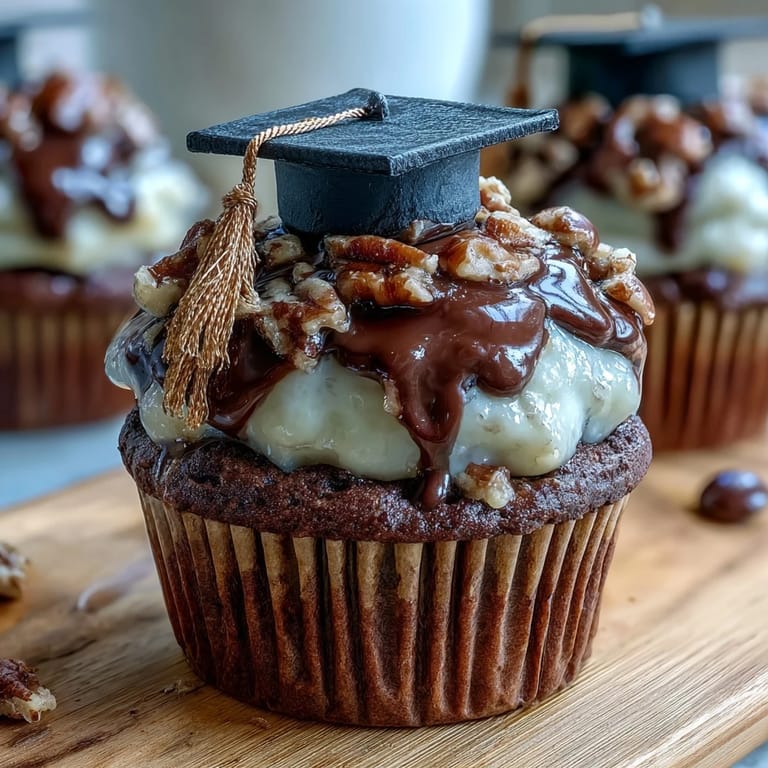
- Assemble the graduation caps:
- Lay a chocolate square flat, attach a mini peanut butter cup upside-down in the center using a tiny dab of melted chocolate or frosting, then add a licorice tassel to the side and a mini M&M as the button. Let these set for a few minutes so the pieces actually stick.
- Top each cupcake:
- Press one graduation cap gently into the frosting on each cupcake and step back to admire what you've made.
 Save
Save After everyone finished eating at my cousin's party, I found three cupcake liners on a windowsill next to a photo of her in her graduation gown. My aunt had saved them because apparently the cupcakes meant something more than just dessert. That's when I realized these aren't complicated fancy cakes, they're edible celebration, and somehow that matters more than I expected.
School Colors and Custom Touches
You can absolutely tint your frosting with food coloring to match your school colors, which I learned when my friend asked if I could make purple and gold cupcakes for her son's graduation. Just add a tiny drop of food coloring at a time and mix, because one minute you have pale pink and the next minute you have frosting that looks like grape juice spilled all over it. The caps themselves can stay classic black and gold, or if you're feeling bold you could even find colored candies to match the overall vibe you're going for.
Storage and Make-Ahead Strategy
These cupcakes stay fresh in an airtight container at room temperature for up to two days, which means you can actually bake them the day before if you're preparing for a party. I usually frost them the morning of the event and wait until a few hours before serving to add the cap toppers, so they're crisp and look like you just finished assembling them. If you're transporting these to a party, keep the cap toppers separate and add them right before serving, because the frosting can soften them if they're sitting on top for too long.
Why This Recipe Actually Works
The reason these cupcakes feel special isn't because the recipe is complicated, it's because they're designed to celebrate something that matters. Every single person who sees a cupcake with a graduation cap on top immediately knows what they're looking at and understands that they're part of something important. The simplicity of the batter means you're not stressed while baking, so you can actually enjoy the process of making something for someone's big moment.
- Don't skip the creaming step because that's actually what makes the texture light instead of dense.
- Keep your candies at room temperature so they don't crack or get weird when you're assembling the caps.
- These are genuinely impressive looking without being technically difficult, which is the definition of a good celebration dessert.
 Save
Save These graduation cupcakes have become my go-to celebration dessert, and honestly they've taught me that sometimes the most meaningful things are the ones that look more impressive than they actually are. Bring them to a graduation party and watch people's faces light up when they realize the frosting cupcakes are also tiny works of art.
Recipe Questions & Answers
- → What ingredients make the cupcakes moist?
The combination of butter, eggs, milk, and vanilla extract creates a tender and moist crumb in the cupcakes.
- → How are the edible graduation caps assembled?
Chocolate squares form the base, topped with mini peanut butter cups or nut-free chocolate, licorice tassels, and candy buttons fixed using melted chocolate or frosting.
- → Can these cupcakes be made nut-free?
Yes, substituting peanut butter cups with chocolate squares ensures nut-free edible toppers suitable for allergy concerns.
- → What is the best way to store these treats?
Keep cupcakes in an airtight container at room temperature for up to two days to maintain freshness.
- → How can frosting be customized?
Add food coloring to the buttercream frosting to match various school colors or party themes.