 Save
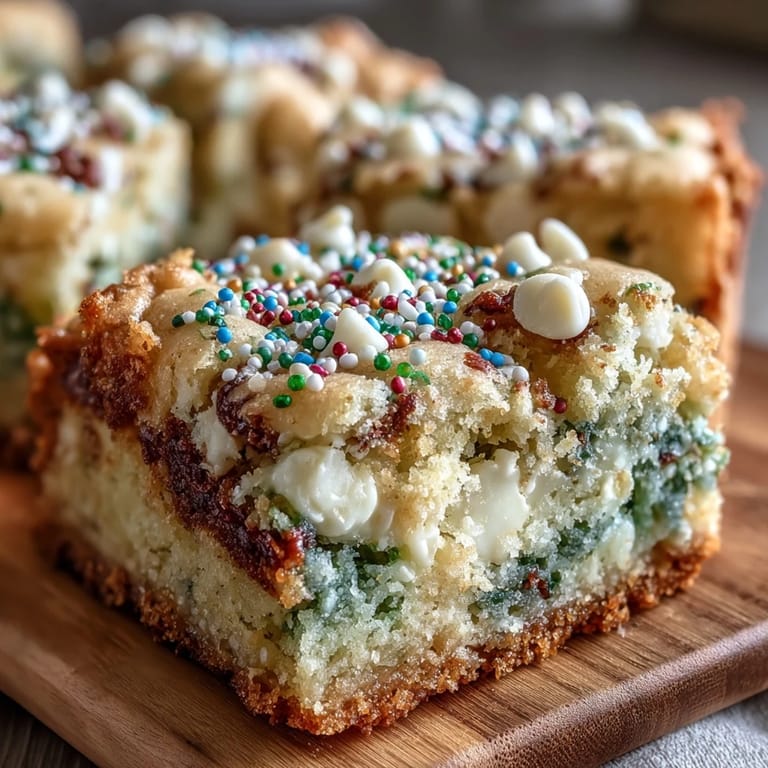
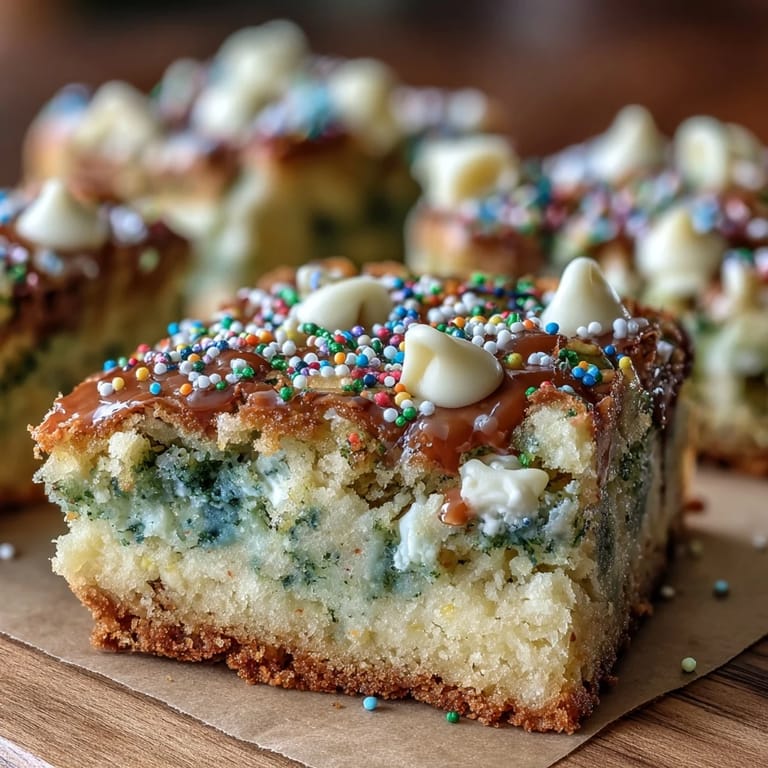
Save My kitchen was chaos that March afternoon—green food coloring somehow ended up on my sleeve, and my daughter was convinced we needed to make something loud and colorful to match her St. Patrick's Day outfit. We didn't have time for anything complicated, so we threw together these rainbow cookie bars, and honestly, they turned out to be the kind of dessert that makes people forget to ask what's in them because they're too busy reaching for another piece. The buttery base, the bursts of white chocolate, and those sprinkles scattered everywhere gave us exactly what we needed: a reason to celebrate something sweet and silly together.
A few years ago, I brought a batch to my neighbor's surprise birthday party, thinking they'd just be a throwaway contribution, but instead they sparked this whole conversation about St. Patrick's Day traditions and childhood memories of green food. Watching grown adults debate whether rainbow sprinkles were better than all-green ones, while kids were just happily eating them, reminded me that sometimes the most meaningful moments happen over something this simple and colorful.
Ingredients
- All-purpose flour (2 cups): The foundation that keeps these bars from becoming cakey or dense; measure by spooning and leveling rather than scooping straight from the bag, which can pack too much flour in.
- Baking powder (1/2 teaspoon): Just enough lift to give these bars a tender crumb without making them rise too much and crack on top.
- Salt (1/4 teaspoon): Brings out the sweetness and prevents the butter from tasting flat and one-dimensional.
- Unsalted butter, melted and cooled (3/4 cup): Must be melted first, then cooled slightly, so it doesn't cook the eggs when you whisk them together; this creates a denser, chewier texture than solid butter would.
- Granulated sugar (1 cup) and light brown sugar (1/2 cup, packed): Together they create moisture and subtle caramel notes; the brown sugar especially keeps these bars tender even after a few days.
- Large eggs (2): Bind everything and add structure without being heavy.
- Pure vanilla extract (2 teaspoons): Use the real thing here because the flavor carries through and makes these taste less like a boxed mix.
- White chocolate chips (3/4 cup): They soften and create little pockets of sweetness; if you prefer milk or semisweet chocolate, swap freely without changing bake time.
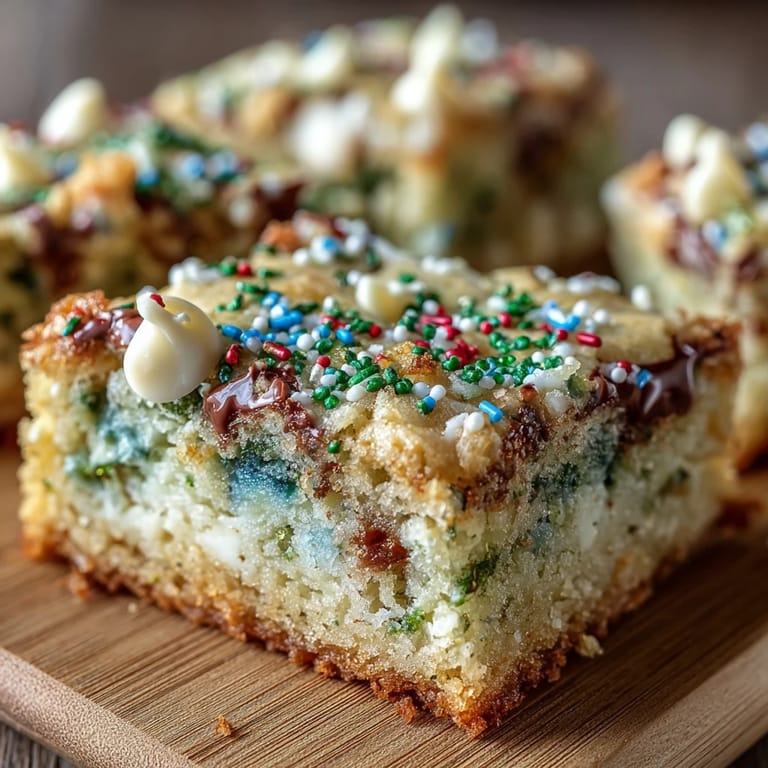
- Rainbow sprinkles (1/2 cup, divided): The star of the show—fold half in and scatter the rest on top so you get color in every bite and a festive finish.
Tired of Takeout? 🥡
Get 10 meals you can make faster than delivery arrives. Seriously.
One email. No spam. Unsubscribe anytime.
Instructions
- Heat your oven and prep your pan:
- Set the oven to 350°F while you line a 9x9-inch baking pan with parchment paper, leaving some overhang on two sides so you can lift the whole thing out once it's baked. This takes about two minutes and saves you from having to cut bars out of a sticky pan later.
- Mix the dry ingredients:
- In a medium bowl, whisk together the flour, baking powder, and salt until they look evenly combined and there are no little flour pockets hiding. This step prevents dense patches in your bars.
- Combine the wet ingredients:
- In a large bowl, whisk the cooled melted butter with both sugars until the mixture looks smooth and slightly pale, then add the eggs and vanilla extract and keep whisking until everything is fully incorporated and creamy. You want to take about a minute on this step because it helps dissolve the sugar and create that tender crumb.
- Fold everything together gently:
- Using a spatula, fold the dry ingredients into the wet ingredients in two or three additions, stirring just until you don't see streaks of flour anymore—don't overmix or the bars will become tough. The texture should look slightly thick and batter-like, not stiff or chunky.
- Add the chocolate and sprinkles:
- Stir in the white chocolate chips and one-third cup of the rainbow sprinkles until they're distributed throughout the batter. You're building flavor and color now, so don't skip the folding part—it keeps everything tender.
- Spread and top:
- Pour the batter into your prepared pan and use an offset spatula or the back of a spoon to spread it into an even layer, then scatter the remaining sprinkles over the top. This is where you can get creative—spread them thick if you love the burst of color, or go light if you prefer subtler sweetness.
- Bake until golden:
- Put the pan in the preheated oven for 25 to 28 minutes, watching for the edges to turn golden brown and a toothpick inserted in the center to come out mostly clean with maybe a few moist crumbs. They continue to set as they cool, so resist pulling them out the second they look done.
- Cool and cut:
- Let the bars cool completely in the pan on a wire rack—this is important because warm bars will fall apart when you try to cut them. Once they're completely cool, use the parchment overhang to lift them out and cut them into 16 squares with a sharp, dry knife.
 Save
Save There's something genuinely magical about watching someone's face light up when they bite into these bars and discover that burst of white chocolate with the sprinkles mixed right in. It's the kind of simple celebration that doesn't require anything fancy, just butter, sugar, and a handful of sprinkles that make everything feel like a party.
When to Make These Bars
These are perfect for St. Patrick's Day of course, but they're honestly just as good for any spring celebration, bake sales, or that random Tuesday when you want to brighten up someone's day without spending hours in the kitchen. I've made them for Easter by swapping the rainbow sprinkles for pastel ones, and for Fourth of July using red, white, and blue, which proves how flexible the base really is.
Storage and Make-Ahead Tips
Keep these bars in an airtight container at room temperature for up to four days, and they actually taste better on day two or three because the flavors meld and the texture softens slightly. You can bake them the night before a party, stack them in a container with parchment between the layers, and forget about dessert entirely.
Customizing Your Bars
The beauty of this recipe is that it's a canvas waiting for your own twist—change the chocolate type, add a drizzle of melted white chocolate on top, or press a few shamrock candies into the top before baking if you want extra festivity.
- Try semisweet or milk chocolate chips instead of white chocolate for a different flavor profile.
- Add a thin white chocolate drizzle across the cooled bars for extra richness and a finished look.
- Make these ahead, stack them in an airtight container, and they're ready whenever you need a quick sweet treat.
 Save
Save These bars remind me that the best celebrations don't need to be complicated or Instagram-perfect; they just need to taste good and make someone smile. Grab a glass of milk and one of these, and you've got yourself a moment worth savoring.
Recipe Questions & Answers
- → What is the baking temperature and time?
Bake at 350°F (175°C) for 25-28 minutes until edges are golden and a toothpick comes out clean.
- → Can I substitute white chocolate chips?
Yes, semisweet or milk chocolate chips can be used instead to suit your taste preferences.
- → How should these bars be stored?
Store in an airtight container at room temperature for up to 4 days to keep them fresh.
- → Are there any common allergens?
Yes, these bars contain wheat, eggs, and milk, and may have traces of soy and nuts depending on ingredients.
- → What makes these bars festive?
The addition of colorful rainbow sprinkles and white chocolate chips adds a vibrant, celebratory touch.