 Save
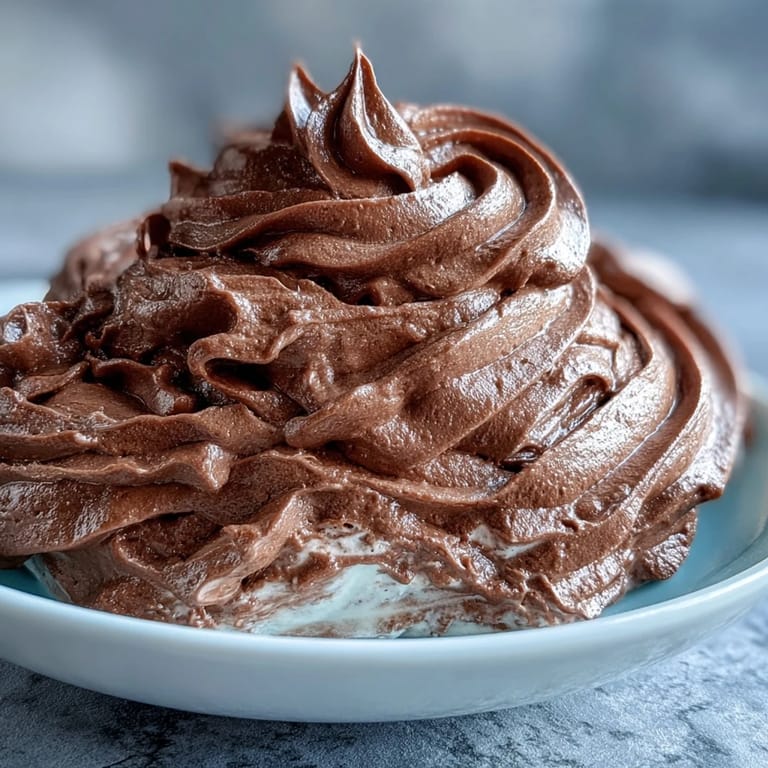
Save There's something almost magical about watching chocolate transform into silk on a whisk. I discovered this mousse recipe during a particularly frantic holiday baking session when I realized I'd committed to bringing dessert to three different gatherings and had no time for elaborate cakes. A friend casually mentioned her trick for a mousse that could do triple duty—elegant enough for a dinner party, sturdy enough to pipe into cupcakes, and foolproof enough that even my anxious baking brain could handle it. That afternoon, I made batch after batch, each one lighter and more luxurious than store-bought alternatives, and suddenly I understood why she'd been holding onto this recipe like a secret.
I'll never forget the moment my sister bit into a cupcake I'd filled with this mousse at her birthday brunch and just closed her eyes like she'd been transported somewhere. She didn't say anything for a full beat, just made a little sound of pure contentment, and then asked if I could make it again for her next party. That's when I knew this wasn't just another recipe—it was the kind of thing people actually remember about your cooking.
Ingredients
- Semi-sweet chocolate (200g, 55–65% cocoa), chopped: Don't skip the quality here—this is the star of the show, and mediocre chocolate will make the whole thing taste, well, mediocre. I learned this the hard way when I grabbed whatever was on sale and ended up with a mousse that tasted more like cocoa powder than luxury.
- Salt (pinch, optional): Only needed if your chocolate is unsalted; it's basically a flavor amplifier that makes the chocolate taste more chocolatey.
- Heavy whipping cream (1 cup/240ml), cold: Temperature matters more here than you'd think—warm cream whips differently and can actually deflate if the chocolate is still too hot when you fold them together.
- Powdered sugar (2 tablespoons): Adjust this to taste depending on the sweetness of your chocolate; darker chocolate might need a touch more, while sweeter chocolate might need less.
- Pure vanilla extract (1 teaspoon): The kind that actually smells like vanilla, not the artificial imitation—it rounds out the chocolate flavor in a way that's subtle but absolutely necessary.
Tired of Takeout? 🥡
Get 10 meals you can make faster than delivery arrives. Seriously.
One email. No spam. Unsubscribe anytime.
Instructions
- Melt the Chocolate Gently:
- Place your chopped chocolate in a heatproof bowl and set it over simmering water (not touching the water), stirring occasionally until it's completely smooth and glossy. If you're using a microwave instead, heat in 20-second bursts and stir between each one—this sounds tedious but prevents the seized, grainy chocolate disaster that happens when you rush. Let it cool to room temperature before moving forward; you want it still pourable but no longer warm to the touch.
- Whip the Cream to Soft Peaks:
- Pour your cold cream into a chilled bowl (this small step makes a real difference in how quickly it whips) and beat with a mixer fitted with the whisk attachment, adding the powdered sugar and vanilla as you go. You're aiming for soft peaks—meaning the cream holds a shape but still looks slightly droopy and smooth, like clouds that just formed. The moment you think you might be overdoing it, stop, because overwhipped cream turns grainy and bitter, and you've just wasted all your good cream.
- Fold Chocolate and Cream Together:
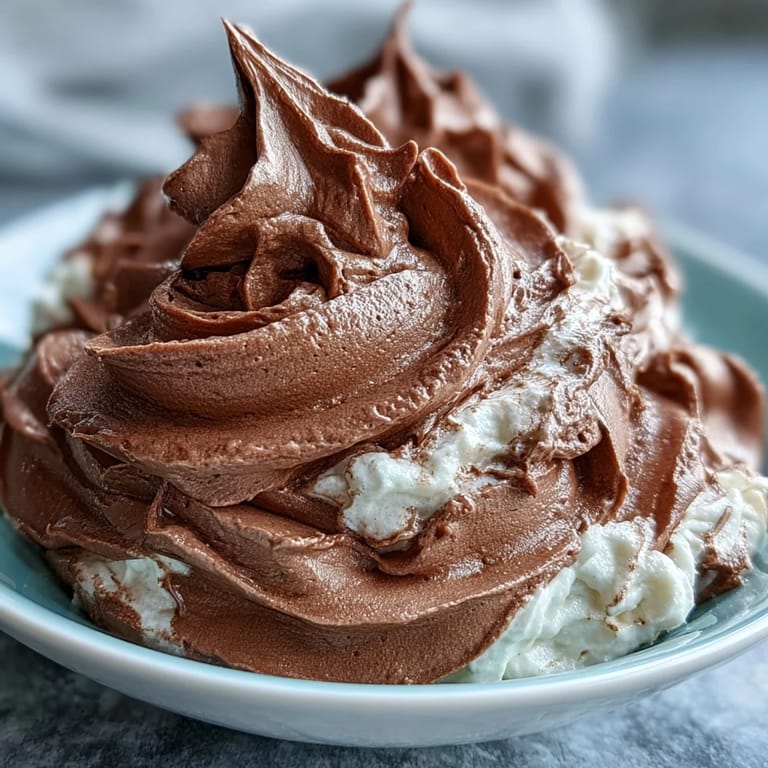
- Once your chocolate has cooled, add a spoonful of whipped cream to it first and stir gently to lighten the mixture—this prevents lumps when you fold in the rest. Now fold in the remaining cream in 2 or 3 additions using a rubber spatula, turning the bowl slightly with each fold and scraping from the bottom up, being careful not to deflate all that lovely air you just whipped in. You're done when you see no chocolate streaks and the mousse is uniform throughout.
- Chill Before Using:
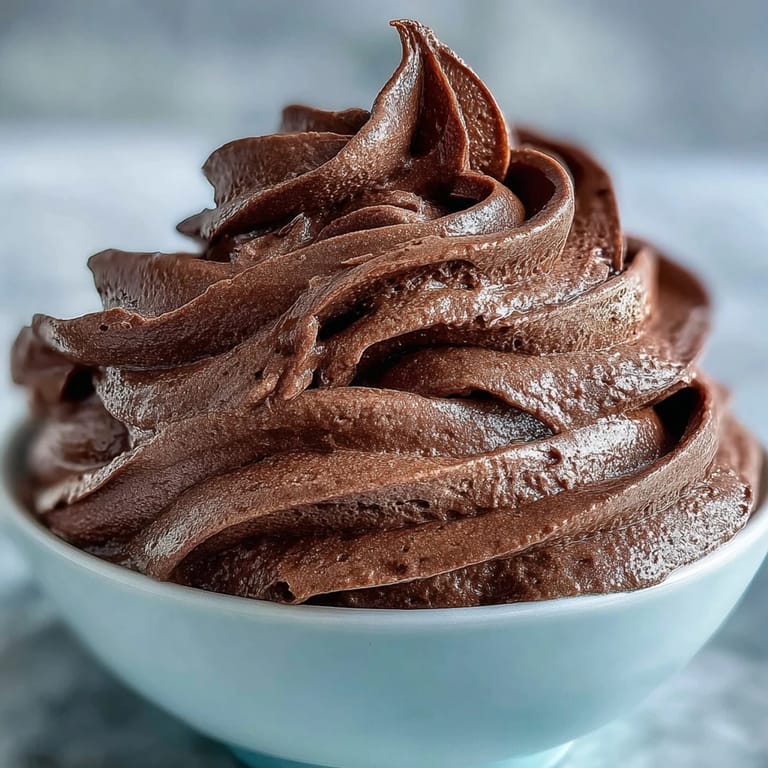
- For a mousse that holds its shape beautifully for piping or layering, let it sit in the refrigerator for 30 to 60 minutes. If you're in a rush and want a softer, spoonable texture, you can use it immediately, though it won't have quite the same structural integrity.
 Save
Save There's a quiet satisfaction in watching someone taste something you've made and seeing their face change. With this mousse, that moment happens almost every single time, and it's never gotten old.
Storage and Make-Ahead Strategy
This mousse is honestly best the same day you make it, when the texture is at its most delicate and the chocolate flavor is brightest. That said, if you cover it with plastic wrap and refrigerate it, you'll get another day out of it—maybe two if you're not being too picky about the texture becoming slightly denser. Whatever you do, don't freeze it; the mousse separates and becomes grainy, and all your work goes to waste.
Flavor Variations That Actually Work
Once you've made this mousse a couple of times and it feels natural, you can start playing with it. A splash of espresso mixed into the melted chocolate deepens everything and makes people guess at the secret ingredient. A tiny pinch of cinnamon adds warmth, especially if you're using it in the fall or winter. I've even added a hint of peppermint extract around the holidays, and honestly, it's become a tradition at this point.
Troubleshooting Your Way to Perfect Mousse
Sometimes things go sideways in the kitchen, and that's just part of cooking. If your mousse looks grainy or separated, it's because the chocolate was too warm when it met the cream—all you can do is start over with melted chocolate at the proper temperature, though honestly, even the imperfect batches usually taste fine spooned into a cup and topped with whipped cream. If the mousse is too dense or heavy, you either whipped the cream too much or mixed too vigorously; next time, whip to soft peaks and fold like you're being gentle with someone's feelings.
- Grainy texture means temperature mismatch—always let chocolate cool to room temperature before combining.
- If it's too stiff after chilling, fold in a tablespoon of cold cream and let it sit for five minutes.
- Taste as you go and adjust the powdered sugar next time if it's not sweet enough for your preference.
 Save
Save This mousse has become my answer to nearly every dessert emergency, and I hope it becomes one of those recipes you make so often you barely need to check the measurements anymore. There's real elegance in something this simple.
Recipe Questions & Answers
- → What type of chocolate is best for this mousse?
Semi-sweet chocolate with 55–65% cocoa content works best, providing a balanced rich flavor without excessive bitterness.
- → How should I melt the chocolate?
Melt gently over a double boiler or in short microwave bursts, stirring frequently to avoid burning.
- → Can I prepare the mousse in advance?
Yes, chilling the mousse for 30–60 minutes improves firmness. It can be refrigerated up to 2 days but is best fresh.
- → How do I achieve a fluffy texture?
Whip the cold heavy cream until soft peaks form, then fold gently into the cooled melted chocolate to keep airiness.
- → Are there flavor variations to try?
Adding a splash of espresso or a pinch of cinnamon to the melted chocolate adds depth and interesting flavor notes.
- → Is this mousse suitable for dietary restrictions?
It is vegetarian and gluten-free, but contains dairy. Check chocolate labels for possible soy or nut traces.