 Save
Save I first made a patchwork quilt cake on a rainy Sunday afternoon, surrounded by my sister's fabric scraps from her quilting project. Watching her intricate stitching reminded me that desserts could be just as artful and intentional. I decided right then to create a cake that celebrated that same spirit of careful arrangement and vibrant color. The result was this show-stopping beauty—a cake that looks like edible art but tastes like pure comfort.
The first time I served this cake was at my best friend's birthday, and I'll never forget how quiet the room went when I walked it in. Everyone stopped mid-conversation just to stare. When we cut into it and revealed the patchwork inside, there were actual gasps. That cake taught me something important: food that's made with intention and a little bit of playfulness has power beyond just tasting good.
Ingredients
- All-purpose flour (350 g): This is your foundation—make sure it's fresh and measure by spooning into your cup rather than scooping, which packs it down and can make your cake dense.
- Granulated sugar (300 g): The sweetness that brings warmth to every bite, and when creamed with butter, it creates those little air pockets that make the cake light and tender.
- Baking powder (2½ tsp): Your lift and rise—this is what gives the cake its gentle, cloud-like crumb. Don't skip checking the expiration date; old baking powder means flat disappointment.
- Salt (½ tsp): The secret ingredient that makes everything taste more like itself, enhancing the vanilla and sweetness without adding saltiness.
- Unsalted butter, softened (250 g): Room temperature is non-negotiable here—it creams into the sugar and holds the air that makes the cake fluffy. Cold butter will fight you.
- Large eggs (4): They bind everything together and add richness. Bring them to room temperature too; they'll incorporate into the batter more smoothly.
- Whole milk (250 ml): This keeps the cake tender and moist. If you forget to measure before you start, the cake will remind you it was needed.
- Vanilla extract (2 tsp): The warm undertone that ties everything together—use pure vanilla, not imitation, if you can.
- Food coloring gels (red, yellow, green, blue, purple): Gel colors are your friend because they give you vibrant hues without watering down the batter like liquid colors do. I learned this the hard way.
- Unsalted butter for frosting (350 g): Softened and at room temperature, this becomes the silky canvas for your patchwork creation.
- Powdered sugar (500 g): This dissolves into the butter to create that smooth, spreadable frosting. Sift it first if you have lumps.
- Milk for frosting (3–4 tbsp): This adjusts your frosting from stiff to spreadable—add it one tablespoon at a time so you don't overshoot.
- Vanilla extract for frosting (2 tsp): One more layer of that comforting vanilla flavor that ties the whole cake together.
Tired of Takeout? 🥡
Get 10 meals you can make faster than delivery arrives. Seriously.
One email. No spam. Unsubscribe anytime.
Instructions
- Prepare your stage:
- Preheat your oven to 180°C (350°F) and get those five square pans ready—grease them generously and line the bottoms with parchment paper. This is the moment everything hinges on. If you don't have five pans, don't stress; bake in batches and keep each layer covered until assembly.
- Create the foundation:
- In a large bowl, beat the softened butter and granulated sugar together until it looks pale, fluffy, and almost cloud-like. This takes about 3–4 minutes with an electric mixer. This creaming step is where the magic begins—you're literally whipping air into the mixture.
- Introduce the eggs:
- Add eggs one at a time, beating well after each addition. Listen for the sound of the mixer smoothing everything out. When all four eggs are in and the mixture looks glossy and well combined, add the vanilla extract and mix until it disappears into the batter.
- Combine the dry ingredients:
- In a separate bowl, whisk together the flour, baking powder, and salt. This ensures the baking powder is distributed evenly, which means every piece of cake rises at the same rate.
- Marry wet and dry:
- Pour about a third of the flour mixture into the wet ingredients and mix on low speed until just barely combined. Then add about half the milk, mixing gently. Repeat: flour, then milk, then the final third of flour. Stop as soon as everything comes together—overmixing develops gluten and makes the cake tough, which is the opposite of what we want.
- Add the color:
- Divide the batter evenly into five bowls. Using gel food coloring and a toothpick, add color to each bowl. Start with just a tiny amount; you can always add more, but you can't take it out. Mix each colored batter gently until the color is uniform, then pour each into a prepared pan, spreading evenly.
- Bake with patience:
- Slide all the pans into the oven and bake for 20–25 minutes. The cake is done when a toothpick inserted in the center comes out clean or with just a few moist crumbs. Don't open the oven door too early; these cakes need quiet time to rise.
- Cool with intention:
- Let the cakes cool in their pans for 10 minutes—this lets them set enough to handle without falling apart. Then turn them out onto cooling racks. They need to cool completely before you touch them further, which usually takes about an hour. Use this time to make the frosting.
- Prepare the frosting:
- Beat softened butter until it's creamy and pale. Gradually add the powdered sugar, a bit at a time, beating continuously. Once it looks like fluffy clouds, add the vanilla, salt, and milk one tablespoon at a time until it reaches a spreadable consistency. It should be thick enough to hold shape but soft enough to smooth easily.
- Cut the cake into pieces:
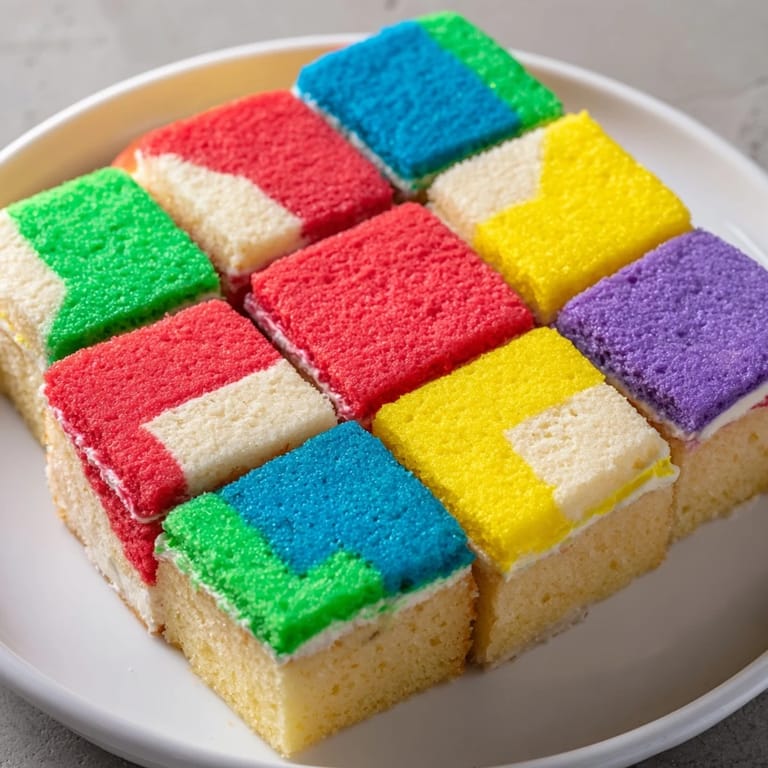
- Once cooled completely, trim the edges of each colored sponge to make them even and neat. Then, using a sharp serrated knife and measured cuts, slice each square layer into uniform 3 x 3 cm squares. You're creating a puzzle now, and uniformity matters for the visual magic.
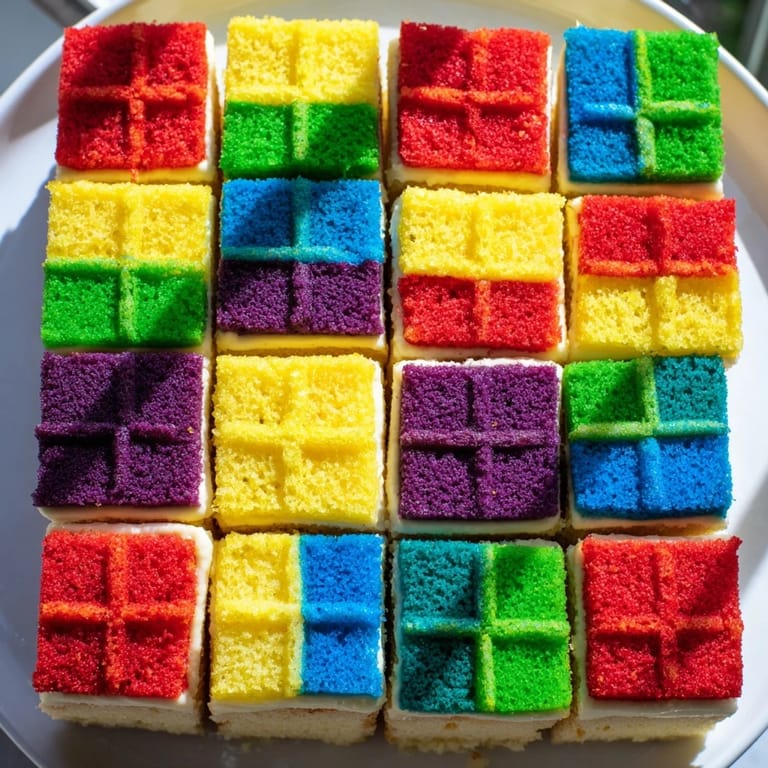
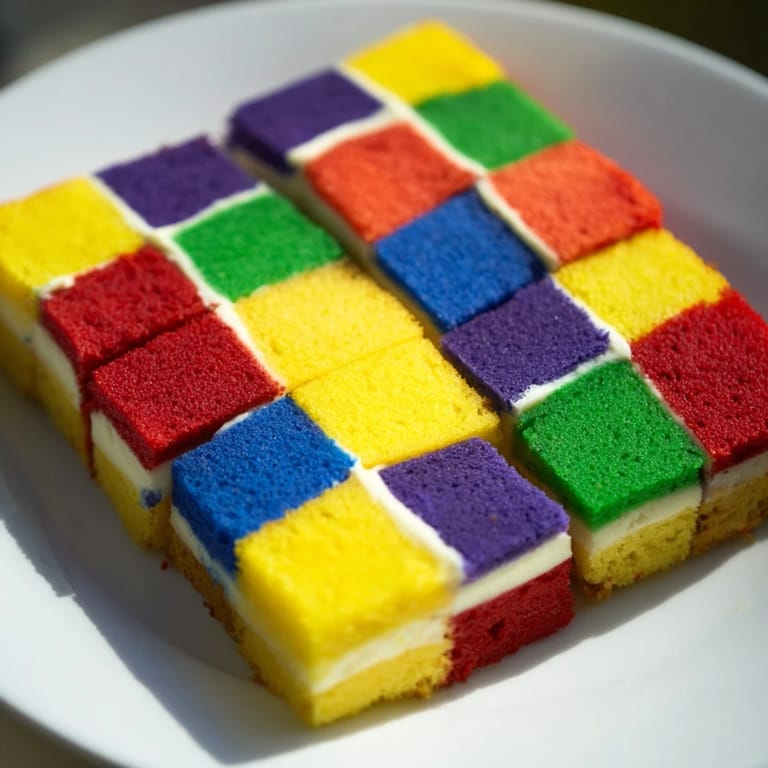
- Build the patchwork:
- On a large tray or cake board, arrange the colored squares in an alternating pattern, creating that quilt effect. Use a thin layer of frosting between each square to glue them together as you go. Think of it like building with edible puzzle pieces. Build layers on top of each other, continuing to alternate the colors so the patchwork effect shows on all sides.
- Finish with frosting:
- Spread a thin, even layer of frosting over the top and sides of the assembled cake, smoothing it as you go. If you want, pipe frosting lines with a piping bag to really emphasize that quilted pattern and make the squares stand out even more.
- Final chill:
- Refrigerate the finished cake for 30 minutes before slicing. This helps the frosting set and makes cutting cleaner, less messy lines.
 Save
Save There's something almost meditative about arranging those colored squares, watching the pattern emerge under your hands like you're stitching together something meaningful. A friend once told me that making this cake with her daughter became a tradition, a moment they carved out together each year. That's when I realized this wasn't just about impressing people—it was about creating moments.
Flavor Variations to Try
While the plain vanilla version is already beautiful, I've discovered small additions that deepen the experience. A teaspoon of lemon zest mixed into the batter adds a bright note that cuts through the sweetness in the most elegant way. I've also tried adding half a teaspoon of almond extract to the frosting, which gives it an almost sophisticated, subtle warmth that makes people pause and ask what that flavor is. If you're feeling adventurous, a pinch of cardamom in the sponge creates a complexity that feels both comforting and surprising.
Storing and Serving Wisdom
This cake is incredibly forgiving and actually improves over time as the flavors meld together. Wrapped well and stored in an airtight container at room temperature, it stays fresh and delicious for three full days. You can also refrigerate it for up to a week, which is perfect if you're making it ahead for an event. Before serving, let slices come to room temperature for about 15 minutes—the frosting softens and the crumb becomes tender and perfect. I've found that cutting with a hot, wet knife gives you the cleanest lines, which really shows off all that careful patchwork work you did.
Making It Your Own
The beauty of this cake is that it's a canvas for your own creativity. You can choose any five colors that speak to you—maybe pastels for a spring celebration or jewel tones for something more dramatic. I once made a rainbow version and a monochromatic blue version, and both were stunning in completely different ways. The patchwork effect means you can arrange the squares however you like; there's no single right way, which is liberating. This cake can be as simple or as elaborate as you want it to be, and that flexibility is part of its magic.
- Try different color combinations based on the occasion or season.
- You can add a thin crumb coat first, then a thicker final frosting layer for a more polished look.
- If you want the patchwork to show all the way around, be intentional about which colors you place on the outer edges.
 Save
Save This cake reminds me that the most meaningful things in life are often built slowly, piece by piece, with intention and care. Every time you make it, you're creating not just a dessert, but a memory.
Recipe Questions & Answers
- → How do I achieve the vibrant sponge colors?
Use gel food coloring for intense hues without altering the batter’s consistency. Add colors to each divided batter before baking.
- → Can I prepare the sponge layers ahead of time?
Yes, bake the colored sponges in advance and store them wrapped in the fridge to maintain freshness before assembly.
- → What is the best way to assemble the patchwork pattern?
Cut each sponge into uniform squares and alternate colors when layering using a thin spread of buttercream to secure the pieces.
- → How should I store the finished cake?
Keep the assembled and frosted cake refrigerated, loosely covered to maintain moisture and prevent drying.
- → Are there ways to customize the flavors?
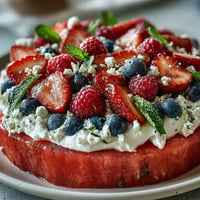
Enhance the batter with citrus zest or almond extract, and pair the finished cake with fresh berries or whipped cream for extra freshness.